BELLA BLVD WHATEVER IS LOVELY
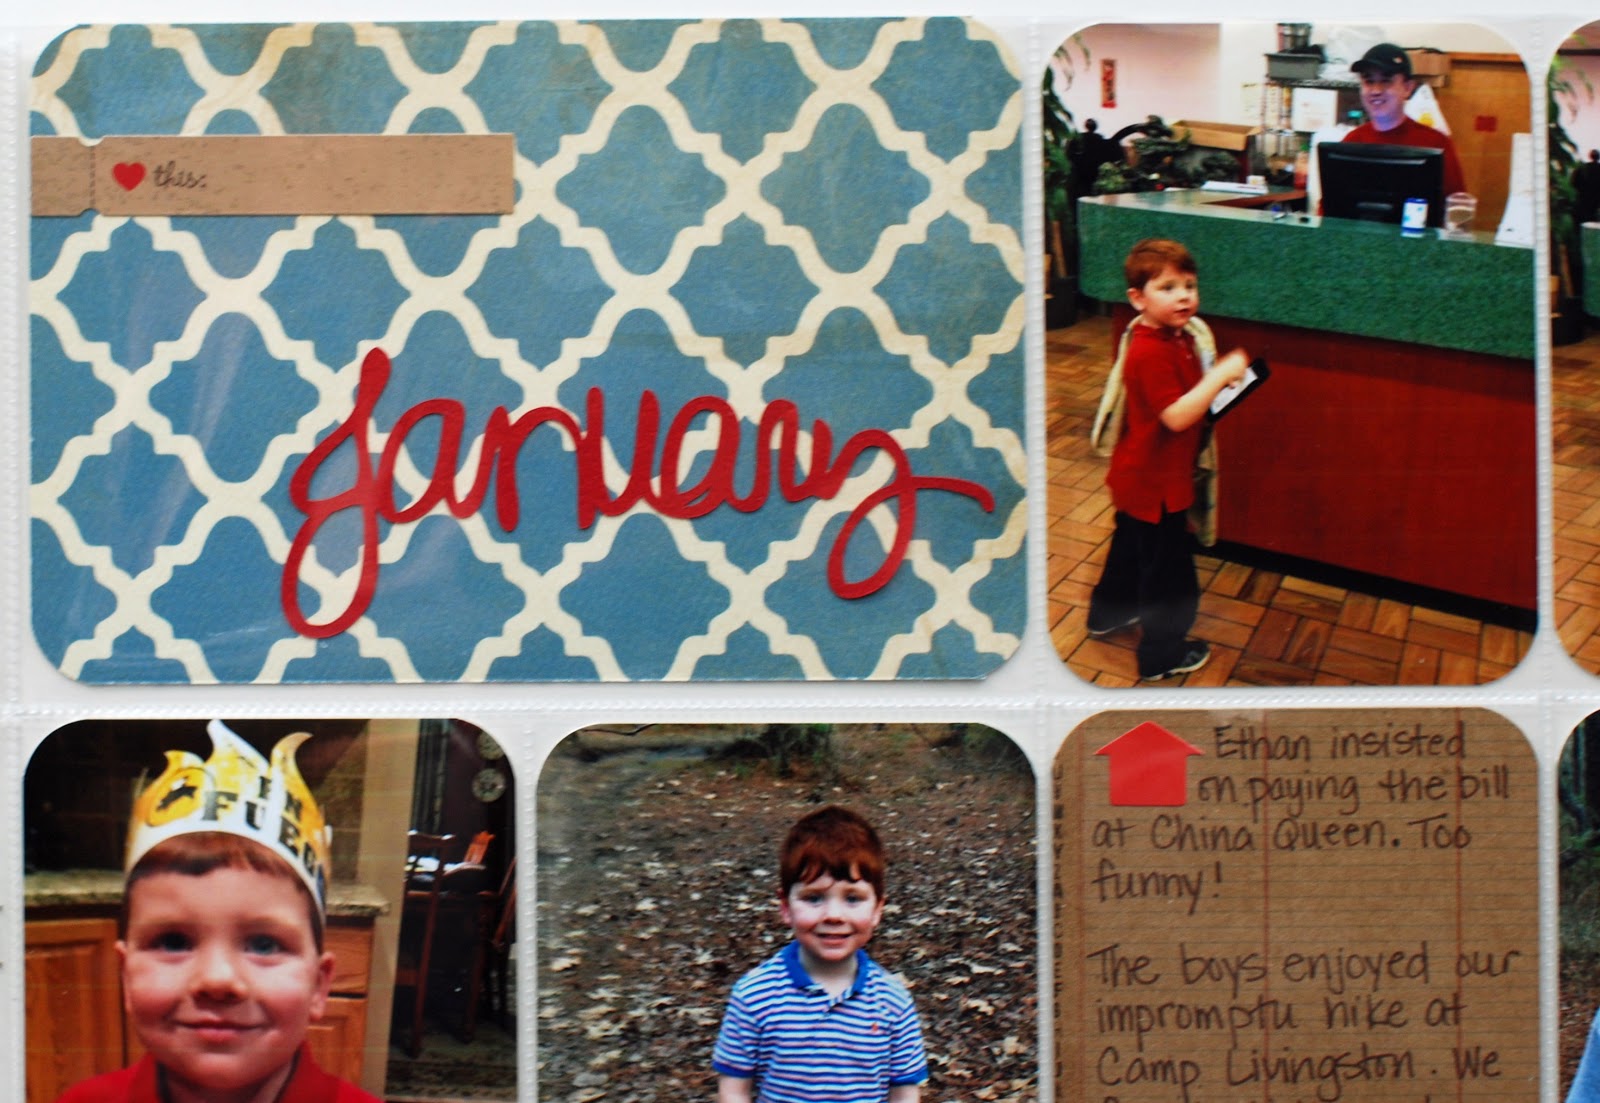
Layout by Bella Blvd. Designer, Patricia Roebuck, and found in the Bella Blvd. Inspiration Gallery.
Showing posts with label January Kit. Show all posts
Wednesday, December 30, 2015
Monday, December 28, 2015
January Sneak Peek #3
PHOTOPLAY PAPER FAMILY TIES
Family Ties is an adorable line by Photo Play Paper. The image above shows the color and theme of the line and was found on the Photo Play Paper site.
Sunday, December 27, 2015
January Sneak Peek #2
SIMPLE STORIES SNOW PATROL
Layout created by Simple Stories designer, Amy Coose, and found on the Simple Stories Blog.
Saturday, December 26, 2015
January Sneak Peek #1
FANCY PANTS HAPPY PLACE
Layout created by Fancy Pants designer, Kim Watson and found on the Fancy Pants blog.
Monday, January 21, 2013
Divided Page Protectors and TSR... and Jenny!
Our motto at The Scrap Room is "Get More Pages Done!" That is
definitely one of my goals for this year. And I have found a great and
easy way to do so!
Have you ever used divided page protectors in your albums? Let me tell you...I'm hooked! I love how easy and quick these make my pages! I ordered a 10-pack of We R Memory Keepers divided page protectors from the TSR store that included:
All of those for just $5.99!! A GREAT deal. Trust me.
So, I chose the page protector that I wanted to use and got started. I used the Sn@p! collection part of this month's kit, which made it SUPER easy. This collection is PERFECT for use with the divided page protectors because basically, all of the design work is already done for you! Here's what I came up with:
When I turned the page protector over, I was left with this:
Like I said before...pretty much all of the design work was already done for me!! I LOVE that! I simply added a few photos, some journaling, and a little touch here and there...and this became the backside of my previous layout:
The best part?? A total of TEN photos scrapped and documented in record time!!!
Even if you don't do "Project Life" type of albums or month-in-review layouts, you can use this style in your regular albums to help "catch up" on that big stack of photos you may have.
More examples:
So, my advice: Check out the TSR Store and order some of the assortment packs of divided page protectors to use with your monthly kits....you'll be glad you did! It's a perfect way to "Get More Pages Done!" ;)
- Jenny
Have you ever used divided page protectors in your albums? Let me tell you...I'm hooked! I love how easy and quick these make my pages! I ordered a 10-pack of We R Memory Keepers divided page protectors from the TSR store that included:
- Full 12"x12" (1 sheet)
- 4"x6" horizontal sleeves (2 sheets)
- 6"x4" vertical sleeves (1 sheet)
- 4"x6", (2) 6"x4", (1) 12"x2" sleeves (1 sheet)
- 4"x6", (1) 8"x6" sleeves (1 sheet)
- 4"x6", (1) 12"x6" sleeves (1 sheet)
- 4"x6", (1) 4"x12" sleeves (1 sheet) 6"x4",
- 6"x12"sleeves (1 sheet) 4"x 4" sleeves (1 sheet)
All of those for just $5.99!! A GREAT deal. Trust me.
So, I chose the page protector that I wanted to use and got started. I used the Sn@p! collection part of this month's kit, which made it SUPER easy. This collection is PERFECT for use with the divided page protectors because basically, all of the design work is already done for you! Here's what I came up with:
When I turned the page protector over, I was left with this:
Like I said before...pretty much all of the design work was already done for me!! I LOVE that! I simply added a few photos, some journaling, and a little touch here and there...and this became the backside of my previous layout:
The best part?? A total of TEN photos scrapped and documented in record time!!!
Even if you don't do "Project Life" type of albums or month-in-review layouts, you can use this style in your regular albums to help "catch up" on that big stack of photos you may have.
More examples:
So, my advice: Check out the TSR Store and order some of the assortment packs of divided page protectors to use with your monthly kits....you'll be glad you did! It's a perfect way to "Get More Pages Done!" ;)
- Jenny
Wednesday, January 16, 2013
Wrapping Up Project Life January
Hi everyone! I'm back today to share two more weeks of Project Life pages, TSR style, of course. First up is Week Three with Pink Paislee Portfolio.
Week Three
This spread using the standard Becky Higgins Design A page protectors. The main colors of the papers were aqua, mustard, gray, and cream. However, I detected a tiny bit of red, so I decided to add in some red stickers and cardstock die cuts to play up the red and tie in with my photos. I like how it turned out.
For the title card, I added some mini alphabet stickers to the tab of the title. (Just noticing that I need to change the word "Two" to "Three". Oops.) I decided to cut out a phrase and the number 3 on my Silhouette using the Diablo cardstock that came in the Snap kit. Both these files are available in the Silhouette Online Store. The stickers all came from the Snap 12 x 12 cardstock sticker sheet. How cool that the stickers work for more than one kit?
Another die cut. However, this one is a free Ali Edwards download. You can find it HERE.
Week Four
The left side is a Becky Higgins Design A page protector, but the right one is a Design F. It holds ten 3 x 4 inch pics or cards. Perfect! Aside from a couple of Silhouette cuts, this page is super simple. The Carta Bella Traditions paper is so pretty. I didn't feel like much embellishing was needed.
I plan to go back and stamp the date on the sticker on the title card. Just gotta get some more Staz On Jet Black ink since the sticker has a shiny surface.
So that wraps up the first four weeks in January. I'm still pretty amazed at how well the TSR kits are working for these pages. And, I still have enough scraps to make some traditional pages if I want. Be back soon with my next four pages.
Monday, January 14, 2013
Got Scraps Challenge: January
So far we've used 1" strips, punched shapes, and squares... what's next?
Flowers.
No, wait, don't panic! Little ones, big ones, punched, die-cut, hand-cut, torn - there are lots of ways to make flowers, and they all use up scraps. Now is the time to try that fun folded flower you saw on YouTube or the tutorials from our DT that you bookmarked but didn't get around to yet. And don't give me sass about how flowers are just not anything you can use... I live with a boybarian horde. I just had to dig a little deeper for my photos. *wink*
So, just like the Freaky Fast Formula and Page Starter, this challenge is designed to get you scrapping quickly and with a minimum of fuss. You can do as much or as little as you like, in whatever style suits you. And the best part... you just might be able to finally kill off some kits, or at least make a dent in that scrap pile!
Step 1: Find an almost-dead kit. No kit? No worries - go dig through your scrap pile and find some coordinating patterned paper scraps.
Step 2: Make a pile of flowers. Pull out those tutorials or seldom-used cut files/cartridges/punches. Have fun and play!
Step 3: Find some pictures and cardstock to match your scraps.
Step 4: Shop your stash for the extra bits, like alphas, journaling blocks, and coordinating embellies.
Step 4.5: Behind the scenes magic. This is the part that happens after Step 4 and before Step 5 where I confess that I had Step 5 done and really hated it and had to do *something*. The problem is that the paper flowers turned out to be much too bright and did not look good all stacked and layered like I had planned. No, I did not take a picture. Just imagine a hot, clash-y mess in your head. So here's what I did: I sprayed the gee-whiz out of the flowers to fix the color and then dumped them onto my desk - and I loved how it looked all randomly piled in line.
Step 5: Finish. Make this layout your own. Do your thing!
This took a while to make because of Step 4.5 (more confession time). However: I killed a kit. AND... I used some stuff out of my stash. All with flower power! *grin*
Now it's your turn! I challenge you to turn scrappy flowers into layouts this month. You have until January 31st to leave a comment with a link to your layout here for a chance to win an awesome prize pack. An awesome prize pack like this American Crafts “Bling It On” Prize Package!
Oh, and if you do happen to kill a kit - or four - stop by the Message Board and record it in our Kit Killer thread. We've started a new thread to track our kits in 2013 - come help us out!
- Theresa/Savi
Flowers.
No, wait, don't panic! Little ones, big ones, punched, die-cut, hand-cut, torn - there are lots of ways to make flowers, and they all use up scraps. Now is the time to try that fun folded flower you saw on YouTube or the tutorials from our DT that you bookmarked but didn't get around to yet. And don't give me sass about how flowers are just not anything you can use... I live with a boybarian horde. I just had to dig a little deeper for my photos. *wink*
So, just like the Freaky Fast Formula and Page Starter, this challenge is designed to get you scrapping quickly and with a minimum of fuss. You can do as much or as little as you like, in whatever style suits you. And the best part... you just might be able to finally kill off some kits, or at least make a dent in that scrap pile!
Step 1: Find an almost-dead kit. No kit? No worries - go dig through your scrap pile and find some coordinating patterned paper scraps.
| The last bits of Fancy Pants Hopscotch |
| Here's what my Silhouette did for me. Cuteness, eh? |
| Ancient pics from 1975. Yes, I was alive then. Be nice. LOL |
| Lots of random bits; some from the Hopscotch kit, other parts from my stash. |
Step 5: Finish. Make this layout your own. Do your thing!
| I got stubborn and used every single last flower I had cut. You don't have to be that stubborn! |
Now it's your turn! I challenge you to turn scrappy flowers into layouts this month. You have until January 31st to leave a comment with a link to your layout here for a chance to win an awesome prize pack. An awesome prize pack like this American Crafts “Bling It On” Prize Package!
![]() |
| 4 jars of Glitter, 4 jars of Glitter Shapes, 1 Roller Stamp, 1 roll of Glitter Ribbon |
- Theresa/Savi
Friday, January 11, 2013
Melanie's 12-12-12 Layout
I wanted to create a one page layout with my 12 iPhone photos from 12-12-12. How many of you also took 12 photos that day???
Here is how I created my 12-12-12 layout using this month's kit.
- Melanie
Here is how I created my 12-12-12 layout using this month's kit.

- Choose your 12 photos. I used a variety of Instagram frames and filters.
- Resize to 2.25" x 2.25" squares and print out.
- I mostly used the Simple Stories kit (it was perfect for this theme) and the B-side of a Pink Paislee pattern paper.
- Placed my main Title: This is the Good Life at the top of my layout.
- Placed the super perfect camera date sticker above the printed washi tape. FYI....it took about 24 hours for the ink to dry and not smudge.
- Lined all my pictures up in a grid format. My pictures are not in any order, I just put them where I liked them :). I took pictures of: my iPhone screen when it was 12:12, a little sewing project that I worked on that night, McDonalds for dinner, video game screen (kids had a sick day), Hershey Candy Cane kisses, me at my desk, hubby's computer at home (he stayed home with kids this day), work clock at 12:12, my TSR kit arrived this day, older son with his Lego mini figure from his Advent calendar, little son wanted a similar photo :), antibiotics for ear infection and pink eye -which they later shared with me :(
- Handwritten journaling (the lined paper was great for this)
- Added a secondary title and date in the bottom corner.
- All done with a layout that focuses on the photos.
- Melanie
Wednesday, January 9, 2013
Project Life TSR Style
Hi there ladies! I'm SO excited to share with you a new feature here at The ScrapRoom: Project Life. Just in case you haven't heard, Project Life is a different (more simplistic) approach to scrapbooking. Using divided page protectors, you document your life in weekly spreads throughout the year. By the end of the year, you have fifty-two double page layouts about your life. Of course, Project Life has become such a huge phenomenon that there are many different approaches to it now.
Here's what I'll be doing here at TSR for you. Each month I'll be using the Flavors of the Month kit to create my Project Life pages. Four kits, four weeks. How perfect, right? The only difference for me is that I'll be using my photos from 2012. Aside from the dates, though, I'm doing a pretty traditional version. Oh, and I don't take one photo a day. I take them whenever and wherever I feel inspired and then pull together whatever I have for my spread. Sometimes more, sometimes less. That's the beauty of Project Life. It is versatile!
Not only will I be sharing my completed pages, but I'll also be posting tips and tricks, downloads, freebie links, and much more. I would LOVE it if you would join me by posting your layouts in the special Project Life Gallery. We can all inspire each other.
Ok, enough yapping, here is my title page and the first two weeks' spreads. (Click on the picture to enlarge.)
Title Page
For the title and my first week's spread, I used Becky Higgins' Design A page protectors and the Fancy Pants The Good Life kit. How perfect is the little banner that says "The Good Life" for a title for my album. Each patterned paper is cut at 6" x 4" and slides right into the pockets. Each photo is cut at 3" x 4".
Week One, January 1-7
Most of the pictures in this spread were taken one day at the park. I really loved those photos, so those are the ones I added the most of. I also scanned in a note that my oldest wrote to my youngest and printed out a Google image of a movie poster. Since most of my pics were vertical, I printed them using THIS video tutorial for putting two 3 x 4 images on a 4 x 6.
For all the spots that did not include a photo, I cut patterned paper into 4x6 or 3x4 and embellished with journaling and the die cut tags that came in the kit. The banner on the title card was created from the Fancy Pants Good Life stencil card and backed in cardstock. A little twine tied on the end and that's it.
I printed all my journaling cards on the light gray cardstock that came in the kit. I also used the Pink Paislee mini alphabet stickers to add my week and my American Crafts date stamp for the week. You can find a date stamp HERE in the store.
Week Two, January 8-14
For this one, I still used Becky Higgins' Design A page protectors but with the Simple Stories Snap line. Another thing I love about Project Life is how colorful the pages turn out. I can let go of obsessively matching pictures with papers because the variety of colors just seems to work.
Most of the embellishing for this spread comes straight from the Simple Stories Snap 12 x 12 sticker sheet. I did add a couple of die cuts and stickers from my stash.
These white grid journaling cards are Becky Higgin's. You could just as easily use plain white cardstock that you cut down to size. The stickers are from my stash.
So, are you in? Do you wanna give this project a go with me? If so, all you need for supplies are some divided page protectors (check out THESE in the TSR store), your Flavors of the Month kit, and your pictures. If you have any questions, please leave me a comment.
I'll be back soon with Weeks Three and Four created with Pink Paislee Portfolio and Carta Bella Traditions. Hope to see you then!
Monday, January 7, 2013
It's All In the Details: January
Let's take one more look at the January kits before they get into your hands... yes, I'm teasing you. A little. Like these details! Little touches here and there that add up to make great layouts. Enjoy!
- Theresa/Savi
| Aphra created simple flowers that are absolutely beautiful. Paper, button, twine... that's all you need! Die cut, punch, or free-hand the petals, crease them, and assemble. Instant bouquet! |
| Beth distressed her cardstock & alphas - this is a great way to add a unifying color (white in this case) to your elements. |
![]() |
| My title tag became a great little focal piece. Little bits of the rest of the kit coordinated with the rest of the layout... and the white space kept it from getting "lost" in the background paper. |
| Aphra ran short of embellishments - so she made her own! Die cuts from coordinating paper topped with some eye candy add a lot to this layout. |
| Beth chose the perfect mist for this layout. It's kinda grey, kinda blue... maybe green? Doesn't really matter, since it would coordinate well with any of those colors - just like it does here. |
| Melanie uses the seriously adorable staples again - to attach this seriously adorable fabric tag. It's not quite squared up to the rest of the layout, which catches the eye. Clever! |
| I distressed my photos and paper to bring more white - and a snowy look - to my layout. And if your paper has great border details, you can showcase them under a peek-a-boo flap. |
Labels:
Aphra,
Beth,
Doubleshot,
FOTM,
January Kit,
Jenny,
Melanie,
Theresa
Friday, January 4, 2013
January Sketch... and December Winners!
Here's a fresh new sketch perfect for a fresh new year! This one comes to you from Tammy - and you'll see just how versatile it is with all the DT examples:
Banners, tags, pockets - one page or two - one photo or many - I think you'll find lots
of ways to play with this sketch this month. Leave us a comment with a link to your layout by January 31st for a chance to win a $10
gift certificate from the TSR store - and good luck!
Last month's winner of the sketch challenge was randomly chosen to be Rebecca G with a great - and honest - layout about what happens when mom is studying. This is real life, and I love it! I also confess to some serious love for the title block. Perfect use of that wooden camera!
The December Got Scraps Challenge winner was randomly chosen to be Deanna D with this beautiful framed family portrait. Love how she overlapped those squares and added layers of eye candy. Well done!
Congratulations, ladies! Please email Tammy at admin@scrap-room.com with your real name, address, and the name of the contest you won. She'll get your prizes to you right away. Happy shopping!
- Theresa/Savi
| The ScrapRoom Sketch for January by Tammy Harp |
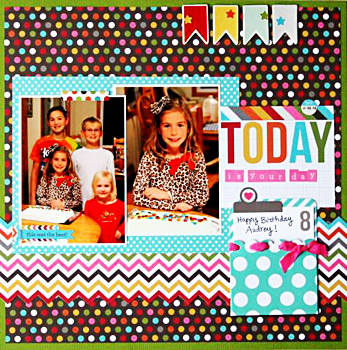
| "Today is Your Day" by Brenda Carpenter |
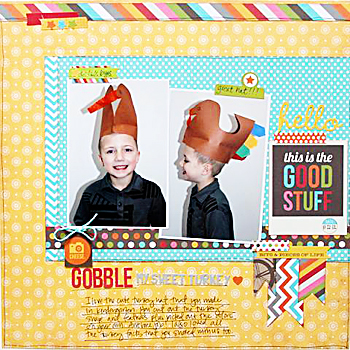
| "My Sweet Turkey" by Melanie Call |
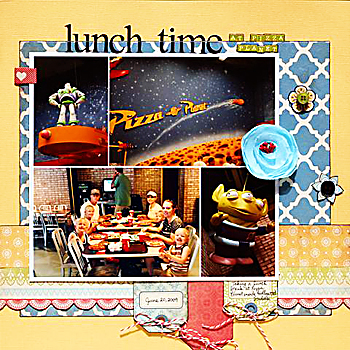
| "Lunch Time at Pizza Planet" by Jennifer Moore |
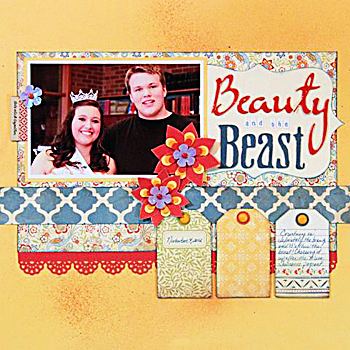
| "Beauty and the Beast" by Beth Hallgren |
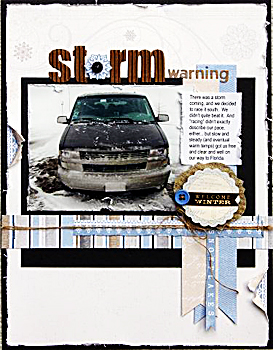
| "Storm Warning" by Theresa Sovacool |
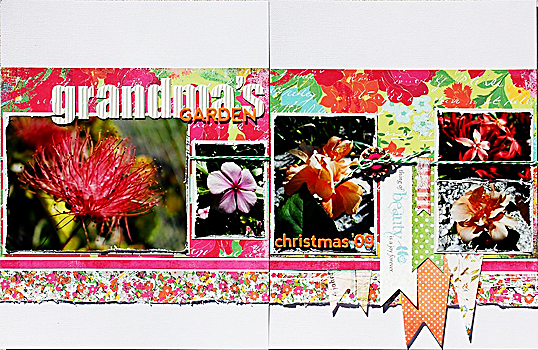
| "Grandma's Garden" by Theresa Sovacool |
Last month's winner of the sketch challenge was randomly chosen to be Rebecca G with a great - and honest - layout about what happens when mom is studying. This is real life, and I love it! I also confess to some serious love for the title block. Perfect use of that wooden camera!
The December Got Scraps Challenge winner was randomly chosen to be Deanna D with this beautiful framed family portrait. Love how she overlapped those squares and added layers of eye candy. Well done!
Congratulations, ladies! Please email Tammy at admin@scrap-room.com with your real name, address, and the name of the contest you won. She'll get your prizes to you right away. Happy shopping!
- Theresa/Savi
Labels:
Aphra,
Beth,
Brenda,
Doubleshot,
FOTM,
January Kit,
Jenny,
Melanie,
Sketch Challenge,
Tammy,
Theresa
Subscribe to:
Posts (Atom)