Thursday, July 30, 2015

August Sneak Peek #6

OCTOBER AFTERNOON  SUMMERTIME


Layout by October Afternoon designer, Laura Craigie, and featured on the October Afternoon blog.

Wednesday, July 29, 2015

August Sneak Peek #5

BELLA BLVD STAR STUDENT


For our Doubleshot  Kit: Layout by Bella Blvd Designer, Laura Vegas, and featured on the Bella Blvd Blog.

Tuesday, July 28, 2015

August Sneak Peek #4

 CRATE PAPER POOLSIDE


Mini-album by Crate Paper Designer, Laetitia Poissy, and featured on the Crate Paper Blog.

Monday, July 27, 2015

August Sneak Peek #3

 SIMPLE STORIES SO FANCY


For our Doubleshot Kit : Layout by Simple Stories Designer, Rebecca Keppel, and featured on the Simple Stories Blog.


Sunday, July 26, 2015

August Sneak Peek #2

 CRATE PAPER JOURNEY


 by Crate Paper Designer, Maria Lacuesta, and featured on the Crate Paper Blog.


Saturday, July 25, 2015

August Sneak Peek #1

SIMPLE STORIES SO RAD


Layout by Simple Stories Designer, Rebecca Keppel, and featured on the Simple Stories Blog.

Thursday, July 23, 2015

Daily Inspiration: Layout of the Day!

The Simple Stories Summer Vibes line from the July 2015 Flavor of the Month Kit has a wonderful assortment of papers and stickers great for country, beach or any Summer activities.  I used the woodgrain paper and bottle tops for my pictures of visiting a farm still being run by sheer physical and manual power by humans and animals.  The pictures made me think about hard days of working on the farm followed by an afternoon of cooling off with a refreshing soda in a glass bottle.  :)

From the Ross Farm Museum site:
"Our Museum is a living, working, farm museum depicting 150 years of agriculture in Nova Scotia. We are a single family upland farm on land originally granted to Captain William Ross. Ross Farm Museum is still being farmed with Oxen, the way it was in the late 1800s."

Wednesday, July 22, 2015

Daily Inspiration: Layout of the Day!

Today's fun layout was created by Aphra Bolyer and uses the Cathy Zielske Project Life Kit Cards. These cards are terrific to document all occasions.

Monday, July 20, 2015

Daily Inspiration: Layout of the Day!

This layout by Brenda Carpenter uses the Elle's Studio Let's Eat line. I think that her use of color is very eye catching, and the Let's Eat Word Label Lil' Snippets add to the interest of the page.

Saturday, July 18, 2015

Daily Inspiration: Layout of the Day!

Today's feature, created by Brenda Ragsdale, comes from our Double Shot Kit Gallery.  I think that her layout is pretty "amazing"!

Friday, July 17, 2015

Maximizing the Use of Your Kits: More Fine & Dandy Cards

The Ephemera from the American Crafts Dear Lizzy Fine & Dandy line makes for a few more quick cards.

Wednesday, July 15, 2015

Daily Inspiration: Layout of the Day!

With all the posts this month on Brenda Carpenter's class on using patterned paper, I wanted to note the creative mix of papers in today's featured layout created by the master herself.  :)   The cute side border is embellished with the fun summer stickers while the Shine On paper draws the eyes to the placement for the photographs.  I, also, noticed six different patterns of paper.

Tuesday, July 14, 2015

Project Life Inspiration: All Four Lines From Flavors of the Month

 I love how each of the lines from the July 2015 Flavors of the Month Kit are represented in the Project Life gallery this month.  Aphra Bolyer put together some cute pages!


Monday, July 13, 2015

Maximizing the Use of Your Kits: Fine & Dandy Cards

The Ephemera from the American Crafts Dear Lizzy Fine & Dandy line makes for some quick cards.

Sunday, July 12, 2015

Daily Inspiration: Layout of the Day!

Today's featured layout is from Brenda Ragsdale.  I love the bits of patterned paper with the border and the adorable tag sticking out from her photo.  The whole layout makes me think of a fair!

Saturday, July 11, 2015

Patterned Paper: Bonus Layout


I had this one photograph of our son, Jason, that has it's own story to tell regarding our tradition of taking our boys to Red Robin when they were young, for their birthdays.  I thought that the Ephemera and papers from American Crafts Dear Lizzy Fine & Dandy would be perfect. Since I did not have the right combination of paper scraps to complete the next installment of our Patterned Paper Series, I went out on my own with today's featured layout.  However, we will continue Brenda's tips in the near future.

Here are the instructions:
  • Fussy cut the outline of your subject leaving a slight border.
  • Balloon paper - 2 x 5 inches and 6 x 9 inches, pink stripe - 4 x 9 inches, red dot - 6 x 1 inch and 3.5 x 1.5 inch.
  • White with pink dot circles - 5 inches, 6.25 inches and 2.25 inches, red cardstock circle mats - 5.25 inches, 6.5 inches and 2.5 inches.  The decorative border strips are 6.5 inches long and 4.5 inches long.
  • Start assembling by placing the large patterned pieces about an inch and a half from the top as shown.  Build on those pieces, all of your cuts as seen in the layout.  Add photograph.
  • Choose ephemera, chipboard, enamel dots any other embellishments and alphabets to fit the theme of your page. I matted my ephemera and attached them with foam adhesive and threads for added dimension and interest.  I, also, printed my journaling on the Fine and Dandy heart paper, cut them as strips and matted them.

Friday, July 10, 2015

Daily Inspiration: Layout of the Day!


Isn't this a fabulous page from Brenda Carpenter?  The mix of patterned papers is fantastic!  Love the pink and green, and the adorable photographs.

Thursday, July 9, 2015

Re-Examining Your Creative Process: Making the Most of Your Patterned Paper - Day 2

From Brenda Carpenter:

2.  Color Blocking with Patterned Paper.  
Using linear blocks of different patterned papers is a quick and easy way to create a basic layout.  Adding solid color blocks (title and journaling tag) helps the layout from being overwhelmed with patterns.

Always pay attention to the "direction" of the pattern paper to help move your eyes across the layout and bring more focus to the photos.  For eaxmple the verticle line of hearts, flowers and stripes all bring your eyes to the main photo in this layout.  Think about what you want for the main focus of your layout and use patterns to help you accomplish this.

Brenda's Original Instruction

Below are my lift and adapted instructions to create the layout with AMERICAN CRAFTS DEAR LIZZY FINE & DANDY.


  • Photo sizes - 4 x 4 (x2) and 3.75 x 4.5 inches.
  • Heart design - 2 x 7 inches, House pattern - 6 x 9 inches, Stripes - 6 x 1.5 inches.
  • Cut the end strips from your patterned papers and use two of them for this layout.  I used the confetti and stripe strips that you see in this layout.
  • I used cardstock from the July 2015 Bazzill/Cardstock kit that were highlighted for the Pink Paislee kit as they also worked well with this kit. One of the many things that I love about The ScrapRoom Kits is that their colors often work so well together.  Trim the Lime cardstock to 1 x 10.5 inches and 4.75 x 3 inches (trim edges to make tag shape for title.)  Arrange on Grey-Blue cardstock and adhere once you have everything lined up well.
  • Fancy cut a few hearts and a few houses to add dimension to your page from their respective patterned papers.
                                       
  • Choose Ephemera and alphabets to fit the theme of your page.  Create a title in the Lime tag, highlight the edges of the tag with some penwork and add a brad or button.
  • Brenda used a TSR stamp to journal on her page where I used Ephemera.  My Ephemera is double matted and doodled.
                                   

 Stamps ($3) from the TSR store that may work are:
  

The first installment to this series may be found here.

Hope you are enjoying this class!  Have a great day!


Wednesday, July 8, 2015

Daily Inspiration: Layout of the Day!


Here's a closer look at Brenda Ragsdale's take on this month's sketch.  Did you notice how she worked in the patterned papers of Pink Paislee Citrus Bliss from the July 2015 Flavors of the Month kit?  I love how she worked with the grid design of the sketch and added small bits of the bold colors.


Tuesday, July 7, 2015

Re-Examining Your Creative Process: Making the Most of Your Patterned Paper - Day 1 (Instructions Included)

From Brenda Carpenter:

1. Create a Patchwork Design.  A fun way to combine patterns is to create a patchwork design.  It is a good way to use lots of patterns from coordinating papers - or mix it up and use different patterns and colors together.  Leaving one square empty allows the perfect space to place an embellishment or even the layout title or journaling.  In this look, the papers together really make a big impact by using a small amount from each individual paper.  This is also a good way to use up scraps or leftovers from other layouts.
Brenda's Original Instruction

Below are my lift and adapted instructions to create the layout with AMERICAN CRAFTS DEAR LIZZY FINE & DANDY.

  
  • Brenda's photo was 5 x 6.5 inches.  I used a 4 x 6 photograph.
  • Start with white cardstock as your base.
  • Trim Blush (AC) cardstock from add-on kit to 10 x 10 inches and adhere to page.  I cut photo corners with the scraps to add to my photograph, and a clip for the top of the layout.
  • Trim patterned papers from the Patterned Paper Kit into 2 - 3 inch squares for each pattern, (mine are 3").  I, also, stitched mine for added cuteness and dimension. One side was used from Oh Joy. Both sides were used from Love Fest.
  • Cut or punch a decorative edge to highlight or ground photo.  I wanted to bring out the red to stand out from the pink with my mom and boy page and used Elated from the Main Kit.
  • Brenda's original used a 3 inch cardstock circle to create her title.  I used a piece from my Ephemera that fit my photograph and added a punched scalloped border in red cardstock.  Be creative with your theme/topic and Ephemera combination to select a story with your words or title.
  • I used two Thickers from my Embellishment kit, matted them and created a visual triangle of embellishments for this page.  Brenda had used a TSR stamp to journal a bit onto cardstock as one of the embellishments.  There are several stamps still in the TSR store that would work nicely. A few ($3 stamp) possibilities are:
 
  • Brenda added a punched piece from one of her papers to accent her title circle.  This did not fit my adaptation.
  • Add Ephemera, punched or cut accents, brads, gems, ink and hand stitching if desired.  Although my red stitches don't quite look like grass, they still ground my Ephemera flamingo.  I punched the flowers and drew the stems.          
Most importantly, adapt the instructions to make your page your own and have fun with it.


Monday, July 6, 2015

Daily Inspiration: Layout of the Day!


Brenda's Recipe Layout for July is a favorite of mine.  I love her touches of color and all the white space.  Great design too.  Members can download the recipe, ( step by step instructions ), including measurements to create this, later in the month.

Thursday, July 2, 2015

Re-Examining Your Creative Process: Making the Most of Your Patterned Paper

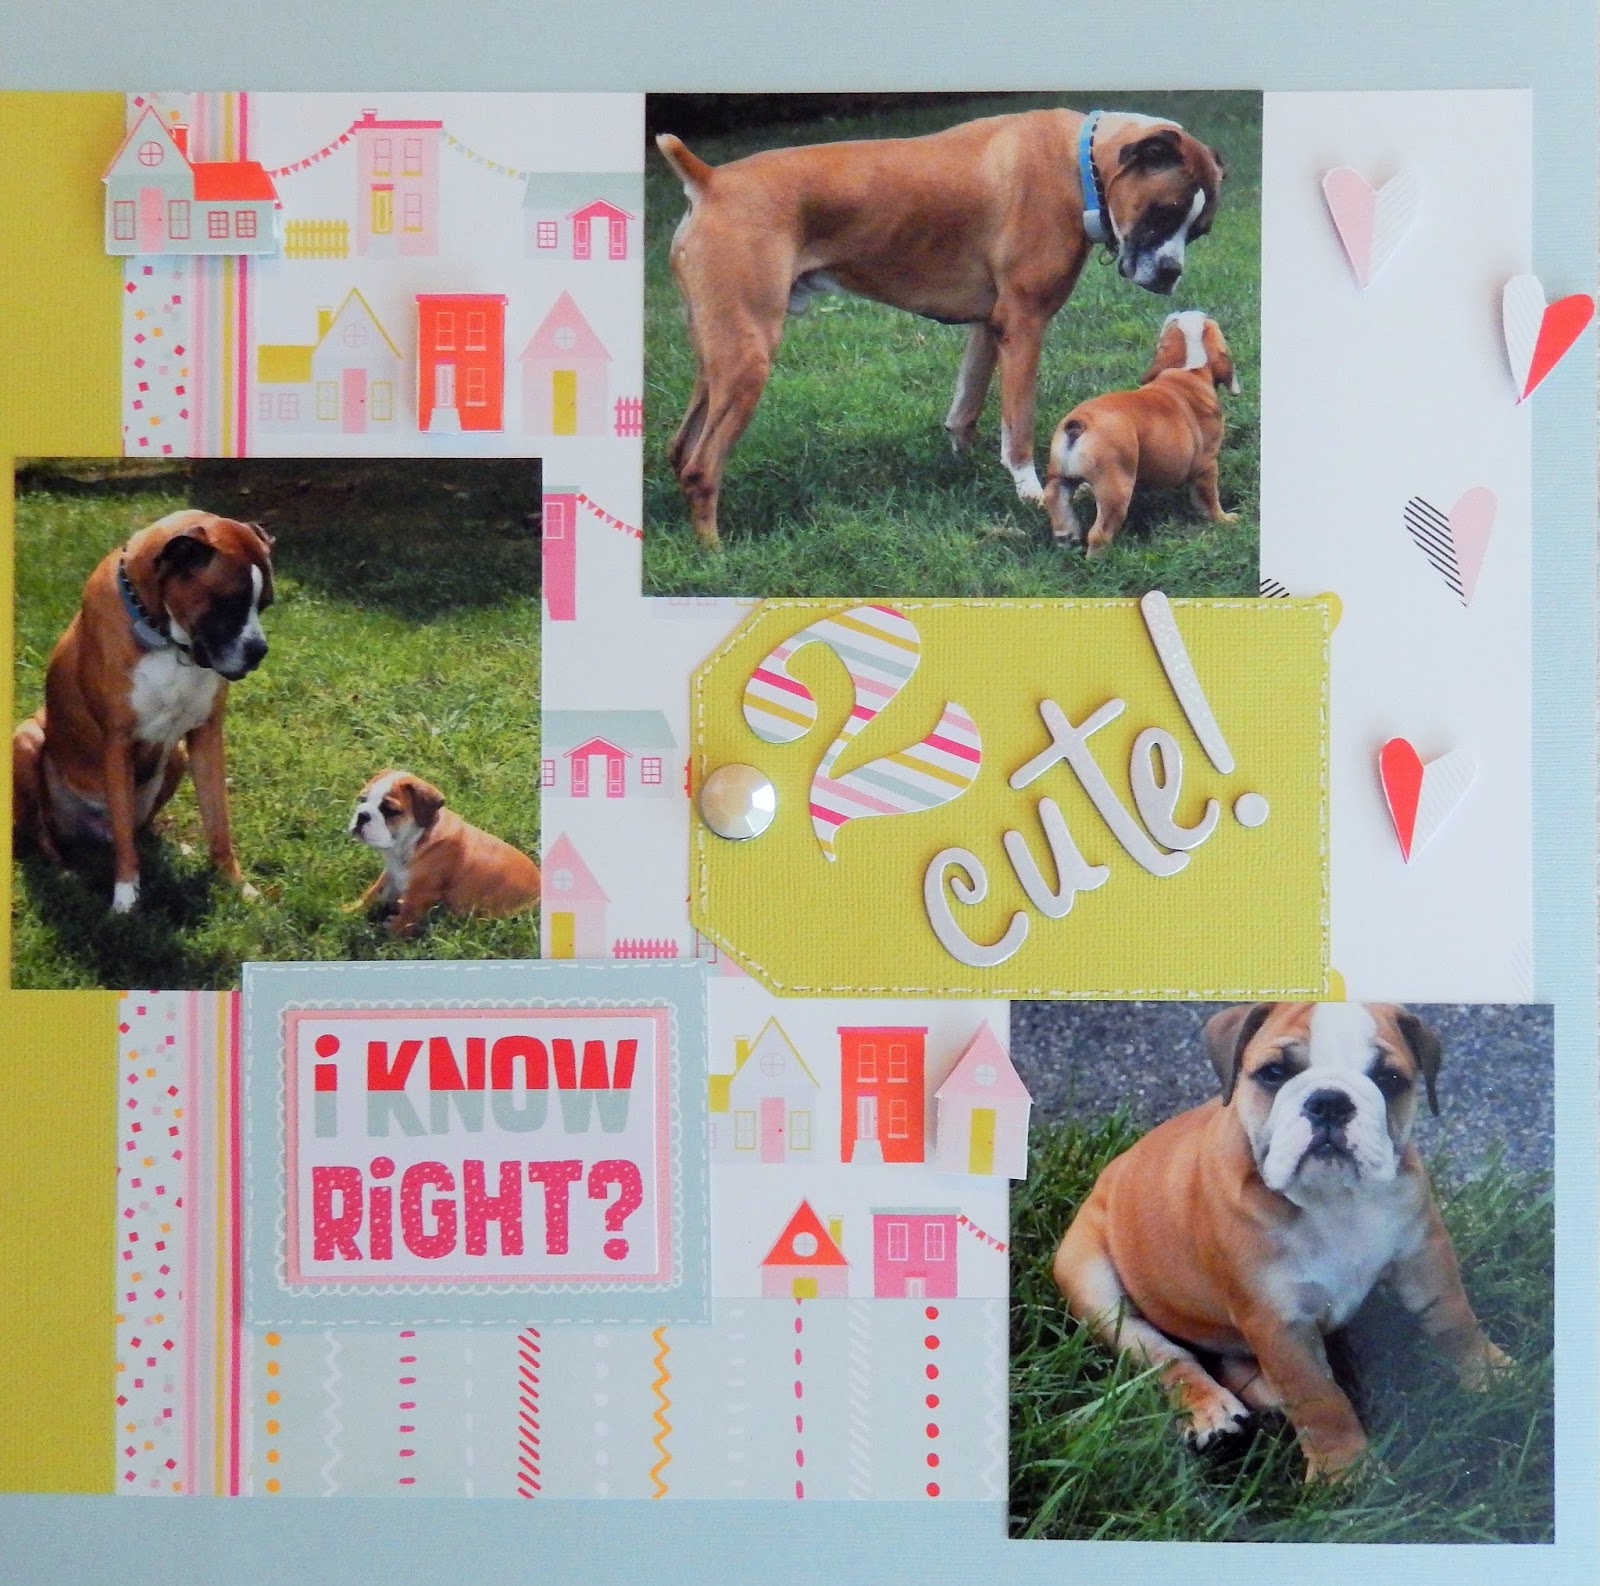
If you have been around The ScrapRoom as long as I have, you might remember a class that TSR designer Brenda Carpenter ran.  I happened to come across my printed copy of "Examining Your Creative Process: Making the Most of Your Patterned Paper" and wanted to scraplift every single project that she made for it!

The class has so much good information and great ideas.  Best thing is, everything still looks stylish today.


This class has several step by step projects and lots of fabulous tips.  We are going to run a series on The ScrapRoom Blog starting this month.  I will be sharing Brenda's fantastic ideas and creating projects with current ScrapRoom kits.  Hope you play along!

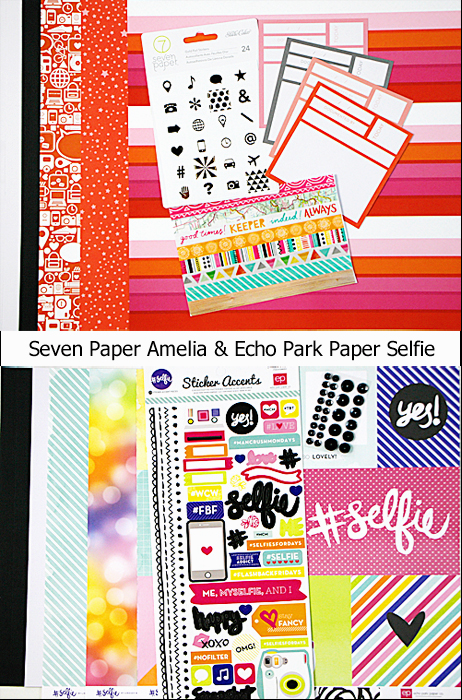
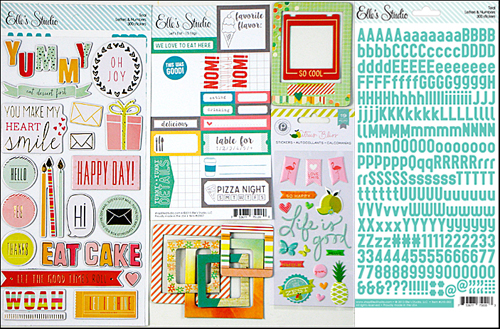
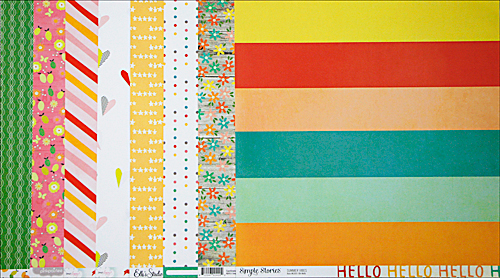
I'll be starting with the July Main Kit, Embellishment Kit, Patterned Paper Kit and the Cardstock Kit. This series will be a progression, and I will be working just a few steps ahead of you to share how to make pages with the current kits.  Here's a peek at the first one:

Okay,...I'm so excited about this that I'm going to show you one more lift:

I hope that your just as excited about this class as I am.  And, it's free.  So be sure to grab your kits and check back later, (quantities are limited).  I'll post the details to these two around the time that you receive your kits.

The instructions will be easy to cut, paste, print and slip into your kits just like the monthly Double Page Spread Recipes.

Are you ready to "Get More Pages Done"?

Wednesday, July 1, 2015

SUPER SUMMER SALE CONTINUES: PAGE KIT GRAB BAGS & PROJECT LIFE PAPER GRAB BAGS!

Our SUPER SUMMER SALE continues this month, and we've got two new Grab Bags at rock-bottom prices!

We're offering a Page Kit Grab Bag...4 individually packaged Page Kits (similar to the page kits found in our Flavors of the Month Kit) for only $5.00 - that's only $1.25 per page kit!!!

And, we're offering a PROJECT LIFE PAPER GRAB BAG...25 sheets of "Card-Style" Patterned Papers (perfect for Project Life Style scrapbooking) for only $5.00!

Quantities are limited, so order early to guarantee you'll get these great deals on first-quality scrapbooking supplies! As always, TSR members can e-mail us at admin@scrap-room.com to order. Non-members can order through our TSR Store...

It's Up!! July 2015 ScrapRoom Kits!


JULY 2015 Cafe Club "Flavors of the Month" Kit Includes:


AMERICAN CRAFTS DEAR LIZZY FINE & DANDY
SIMPLE STORIES SUMMER VIBES
PINK PAISLEE CITRUS BLISS
ELLE'S STUDIO LET'S EAT


JULY 2015 Doubleshot Club Kit


Add-On Clubs:
         
        Project Life Club


       Embellishment Kit


      Patterned Paper Kit


      Bazzill/Cardstock Kit


Please go to The ScrapRoom for more information or to purchase these fabulous kits.

Happy scrapping!