Monday, July 16, 2012

What's In Store: WRMK Divided Page Protectors

The TSR Store has a huge assortment of We R Memory Keepers Divided Page Protectors.  

 
This product can be very useful to a busy scrapbooker.  Today, I thought I'd share a variety of ways to incorporate them into your albums.

1.  Create a title page for your travel, baby, school, or other themed album.


2.  Add them to your Month-in-Review, Project 365, or Project Life album.


3.  Create quick and easy scrapbook pages or albums, especially when you have a TON of photos.  These would make great wedding, baby, or grad gifts as well.


4.  Create a companion page for your traditional layouts by adding multi-photo pockets with or without papers and embellishments.  


5.  Create super fast albums by mixing and matching photos and Simple Stories, We R Memory Keepers, Jillibean Soup and other patterned papers that come with divided sheets.


6.  Print your Instagram pics at Postal and incorporate them into your albums.  The 4" x 4" pockets are the perfect size!


I can see many of these ideas working their way into my albums.  How about you?  Will any of these ideas work for you?  Or do you have another idea to add to this list?  Leave me a comment . . . I'd love to hear!

Friday, July 13, 2012

A Simple Starter for July

I don't know about you, but around here July is a super busy month full of kids' activities, family get togethers, and weekend road trips.  That doesn't leave too much time for scrapping.  Sooo . . . for this month's Page Starter, I decided to keep it simple.  Sound good?

July Page Starter


Here's what you'll need to get started.  First, you need a background piece.  I chose to use a patterned piece rather than cardstock because this month's Page Starter is pretty simple, so having a patterned background won't be too busy. You'll also need two more patterned papers cut to the following dimensions:

                                                     1.  6.75" x 9.75" block
                                                     2.  1" x 9.75" strip

Now you're ready to start adhering the paper to the page.  Here is how I placed mine.
  1. Adhere the 6.75" x 9.75" block 2.75" from the left and 1" from the top of the page. 
  2. Adhere the 1" x 9.75" strip flush with the right edge of the block.
Finally, you will add your photos and embellishments.  This part is completely up to you.  There is no set limit to the number of photos or no set placement for them.  Also, you can use whatever embellishments you like, wherever you want to place them on the layout.  

Here's one way you could finish it off.  For this one, I used Crate Paper Storyteller and one 5" x 7" photo.

My Pre-K Story


I'll be back in a week or so to show you another finished layout.  In the meantime, I'd love to see what you do with the July Page Starter.  Link up your completed layout to the bottom of this post by Tuesday, July 31st for your chance at a $10 Gift Certificate to the TSR Store.  

Happy Scrappin!

Tuesday, July 10, 2012

Tuesday Tutorial: For Chevron Lovers AND Haters!

Love chevrons?  Please, take a moment and go drool over this post by Aphra about the chevron trend.  Then come back and get ready to make chevrons out of any double-sided paper you have!

Hate chevrons?  Then feel free to grab some chevron paper, a pair of scissors, and let loose a maniacal laugh - because we're going to deconstruct some chevrons and make them go away!

Love Those Chevrons!  (haters, you may skip this section)
Here's a card made with the Simple Stories Summer Fresh line... and some made-from-scratch chevrons:
 

To create your own, cut strips from any double-sided paper.  I used 1/4" strips, and chose paper with very different sides so that the chevron would "pop".  Using my (well-loved) cutting mat as a guide, I folded the paper every 1/2" on the diagonal:


I ran the strips through a Xyron so they'd stay in place as I sewed them down.  You wouldn't need to sew them, but I think you should use a stronger adhesive than the repositionable Xyron I used.  You can see the strips lifting before I ran them through my machine:

Trim off the ends and you are done.  Easy peasy!  (Now don't look at the next little tutorial... it just might break your heart.) 

Chevron Haters! (you know who you are...)
Here's a layout made with Simple Stories Summer Fresh and a deconstructed chunk of chevron paper:

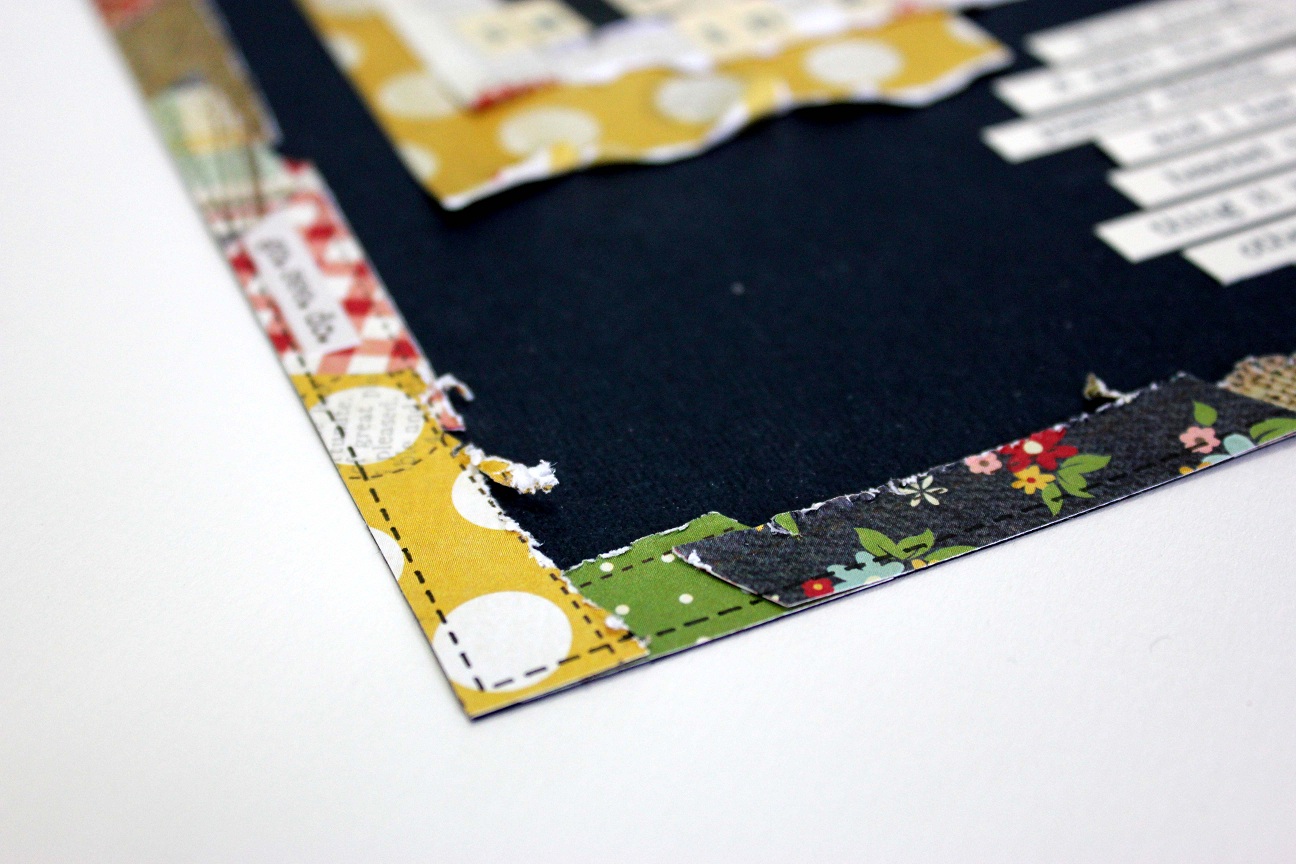
The border of this page started out as a chevron... just cut apart, roughed up, lined up, trimmed off, and doodled on.  Doesn't that make you happy thinking about it? 


My dog Grey chewed on the green piece when it fell off my table.  Apparently he's a hater...
From here, just trim the overlapping bits flush to the cardstock edge.  I chose to doodle a stitched line around the edges to match the details on the paper, but it isn't necessary.  Here's a close up of the final product:

So there you have it.  Whether you love them or hate them, we've got chevrons.  Might as well go have fun with them!

Theresa

Monday, July 9, 2012

Just One Thing: Heyday My Type Wood Veneers

This month's Embellishment Add-On kit is full of yummy scrap goodies.  Today I want to focus on just one thing from that kit -- the Heyday My Type Wood Veneers by Studio Calico.  SO cute!!!  Here are just a few ideas for using them on your projects.

Just My Type by Beth


Do You Remember by Beth


Just a Note by Theresa


Hello There Sunshine 
by Studio Calico Designer Dawn McVey


Just A Note to Say Thanks 
by Studio Calico Designer Nicole Harper