Advent calendars are all the rage now days! You can find TONS of
ideas for them all over Pinterest and other crafty websites.
A few years ago, I found a couple of tree shaped advent calendars from
Starbucks that I altered for my boys, and that's what we use for our
countdown for Christmas. They LOVE finding little goodies in the boxes
each day as we anxiously await for Christmas. :)
When I saw the Simple Stories "Handmade Holiday" part of the December
kit, I immediately knew that an altered Advent calendar was what I was
going to create! The Simple Stories collection made it SOOOO easy...the
sticker sheet already had all of the numbers printed on the little
banner stickers, so pretty much all I had to do was cover each little
box with some patterned paper, add the sticker, and cover with Mod
Podge. See....how's that for easy peasy?
1) First, I started out with this blank Advent calendar from Hobby
Lobby. It was marked $12.99, but it was 1/2 off the week I bought it.
Woohoo!
2)
Next, I took out one of the little boxes and used it as a "template" to
cut all of my patterned paper. Just trace the box's front onto a
random assortment of patterned paper, then cut out all of the shapes.
These will be used for the "background" of each little box included in
the calendar.
3) After all my patterned paper was cut, I laid them all out on my table
in the order I thought looked best. You could be very symmetrical here
and repeat everything in a certain order, but all I did was just fiddle
with the papers and arranged them in different ways until they looked
good to me. :)
4) Next, I applied Mod Podge to each little box and covered them all
with the patterned paper.
5) I waited for the Mod Podge to completely dry, and then I took each
number banner sticker from the Simple Stories sticker sheet and applied
them on top of the patterned paper in number order. I outlined each
sticker with a black pen to help make them stand out a bit.
6) Next, I added a layer of Mod Podge over the stickers and patterned
paper and allowed all of the boxes to completely dry before putting them
back into the calendar base.
7) Last, I made a bow out of burlap and glued it on top. The end
result:
Sooo
soooo easy, I tell ya! Our Advent calendars are my kids' favorite
tradition during the holidays! Inside, I place candy, small toys, strips
of paper with Christmas activities written on them (such as "holiday
movie night!" or "make hot chocolate and go look at Christmas lights!"),
or some other little treasure. It's so fun to think up neat little
things to put in each box, and I LOVE watching my kids' faces as they
open up a little surprise each day! :)
I hope you have fun making holiday memories with your family this
season. Merry Christmas, everyone!
- Jenny
Wednesday, December 12, 2012
Monday, December 10, 2012
It's All In the Details in December!
Kits have started landing across the country... and soon across the world. It's sort of like Santa making a pre-holiday delivery - getting all the good stuff out early, right? *grin* Whether you have your kit in hand, or will soon, here's another little gift you can enjoy early: detail shots!
Enjoy the details this month... whether they are in the kits you receive, on the pages you make, or in your homes & hearts. Good things are everywhere, and life is in the details!
- Theresa/Savi
![]() |
| Aphra layers the Sew Fun banners - no sewing required! |
![]() |
| Beth uses a photo frame as a journaling spot - great idea! |
![]() |
| Melanie uses a little bit of everything - so easy and beautiful because our kits are all matchy-matchy. |
![]() |
| Theresa used white embossing powder to alter these wooden snowflakes... |
![]() |
| ... Aphra dressed her wooden snowflakes up with pearls... |
![]() |
| ... and Beth painted her wooden trees! |
![]() |
| Melanie attached this envelope with twine and a brad - and a little button - and check out the staple! |
![]() |
| Theresa used the Sew Fun banners, flair, and little fussy cut arrow for a fun embellie cluster. |
![]() |
| Beth gives Santa a perfect background - and just the right words to say! |
- Theresa/Savi
Labels:
Aphra,
Beth,
December Kit,
Doubleshot,
DT Inspiration,
FOTM,
Melanie,
Theresa
Friday, December 7, 2012
A Stitching Solution by Beth!
I'm an easy sell for every new tool that hits the market and the Sew Easy by We R Memory Keepers was no exception. Readily forgetting that sewing a straight line is not one of my strong points! I practiced and practiced but was still prone to veering off course and ruining perfectly good paper.
After a lot of trial and error (make that lots of error) I came up with this idea.
Now I'm off to experiment with some of the other Sew Easy stitching heads.
Happy Scrapping!
- Beth
After a lot of trial and error (make that lots of error) I came up with this idea.
First take a 2"x12" scrap of light colored paper and line it up vertically on your Sew Easy foam mat. Holding this paper down securely, make a row of stitching the length of the scrap.

Use the lines on the mat to guide your stitches.

Now take your scrap and hold or secure it with repositionable adhesive to your layout, positioning it exactly where you want the stitching to go. You can even experiment with placement by marking through the holes with a pencil and erasing if you aren't satisfied.

Once happy with placement then pierce holes through your template or mark with pencil and then pierce.

Now you can stitch!

With careful planning, the corners can be uniform

Use the lines on the mat to guide your stitches.

Now take your scrap and hold or secure it with repositionable adhesive to your layout, positioning it exactly where you want the stitching to go. You can even experiment with placement by marking through the holes with a pencil and erasing if you aren't satisfied.

Once happy with placement then pierce holes through your template or mark with pencil and then pierce.

Now you can stitch!

With careful planning, the corners can be uniform
Now I'm off to experiment with some of the other Sew Easy stitching heads.
Happy Scrapping!
- Beth
Wednesday, December 5, 2012
It's Card Season!
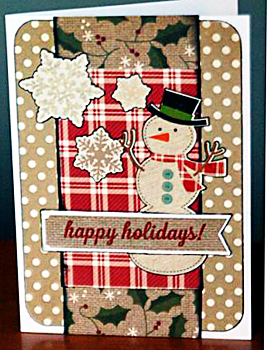
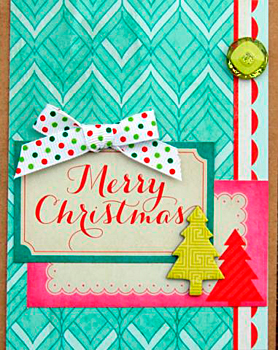
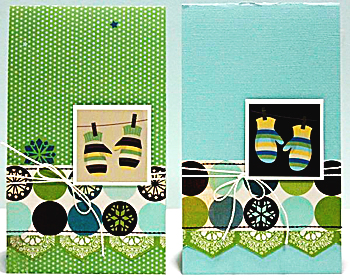
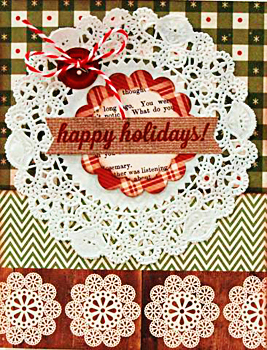
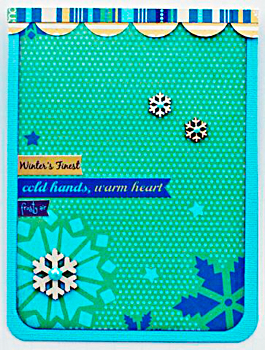
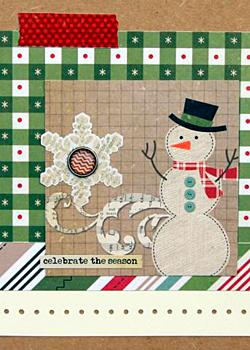
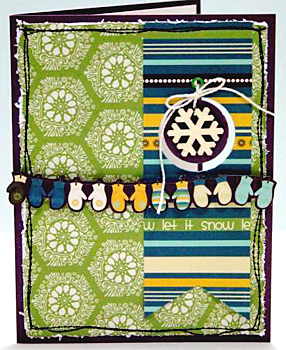
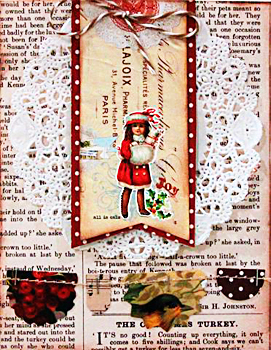
Christmas cards, winter cards, Hanukkah cards, cards as gifts, or cards just because... face it, it's the season for cards! Are you feeling slightly panicked? A little frazzled? Overwhelmed? Well, stop it. We're here to help! Every month the Design Team makes cards from every kit just for you - and this month is no exception. Find a design or three or five that you like and "cardlift" it. You'll be done with your cards in no time - and the people you give them to will truly appreciate a little handmade love in the mail or under the tree!
- Theresa/Savi
![]() |
| Jennifer Moore |
![]() |
| Brenda Carpenter |
![]() |
| Theresa Sovacool |
![]() |
| Melanie Call |
![]() |
| Aphra Bolyer |
![]() |
| Brenda Carpenter |
![]() |
| Theresa Sovacool |
![]() |
| Melanie Call |
![]() |
| Theresa Sovacool |
Labels:
Aphra,
Brenda,
Card,
December Kit,
Doubleshot,
DT Inspiration,
FOTM,
Jenny,
Melanie,
Theresa
Subscribe to:
Posts (Atom)