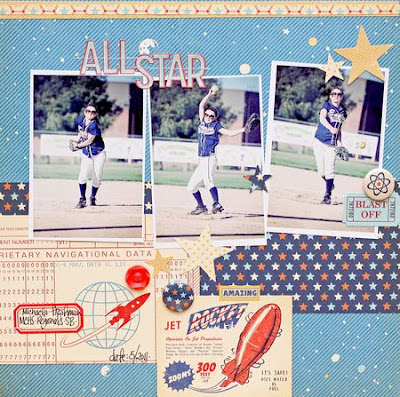
Hi everyone! Theresa here today with a quick and easy photo tutorial.
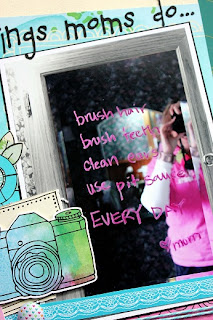
I like to match my photos to my paper, so when I got the Amy Tan Sketchbook kit to work with, I went looking for photos with pink, blue-green, and black in them. I found almost perfect photos: pink and blue-green, but brown instead of black.
Then I remembered a conversation that we recently had on the Message Board about using black & white photos - some of us convert difficult pictures to B&W so that color no longer becomes an issue. Hmmm... I needed some of the colors, but not all of them. Then I remembered some scrappy friends with Photoshop being able to layer photos and remove areas where the color should be. But that's a lot of work, and I'm lazy. What if I did it manually?
So that's what I did. I printed two sets of photos: one set in color, and one set in B&W. I cut out the area I wanted to be in color, layered it on my B&W photos - and it was perfect for what I needed. Here's how the final product looked:
Then I started thinking of other conversations we've had on the Message Board about difficult photos... would this work for those? I personally struggle with Christmas and Birthday photos. I think it's because of the chaos, colors, and sometimes unfortunate backgrounds. Like these Christmas photos of my boys years ago. So darn cute, but there's a lot of other distracting stuff there - and a freaky huge hairy leg! LOL!
So I did the same technique above... I printed the photos twice, one set in B&W, and one in color. Then I cut each kid out of the color photo.
You know what? It's low tech and fast - and I think it works great! Shoot. Now I really want to redo the layout that these pictures are on!
Try this technique on your next batch of photos, whether they are difficult photos or special ones that deserve some focus. Link up your black & white & color photo in the comments below - I'd love to see what you come up with!


