Showing posts with label October Kit. Show all posts

Thursday, October 1, 2015

October Kits!!

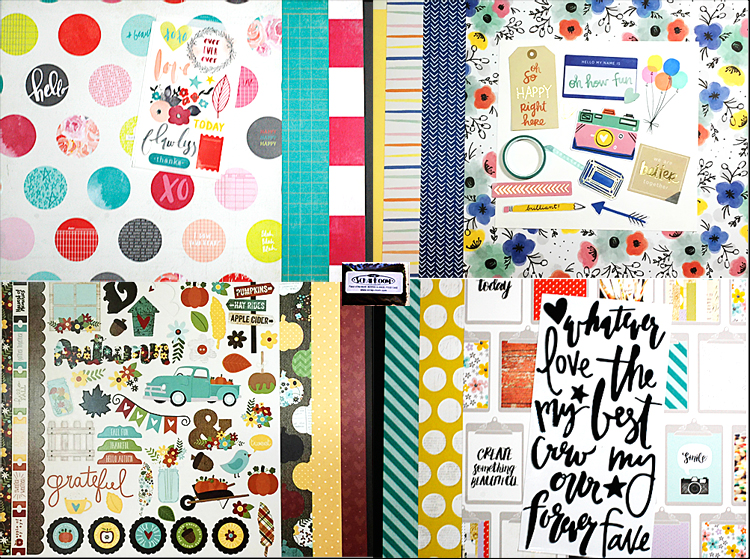
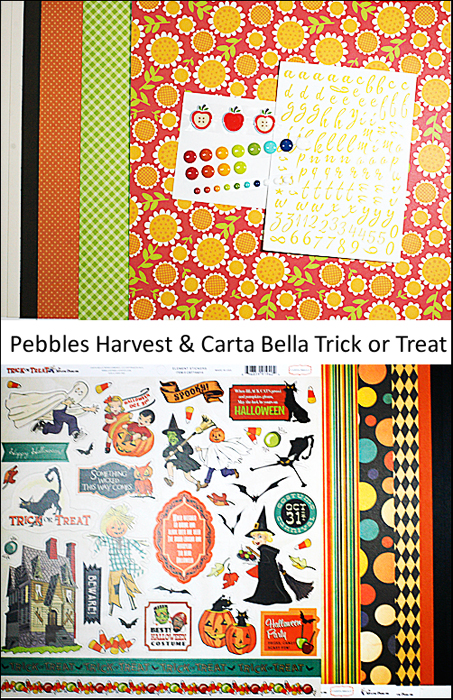
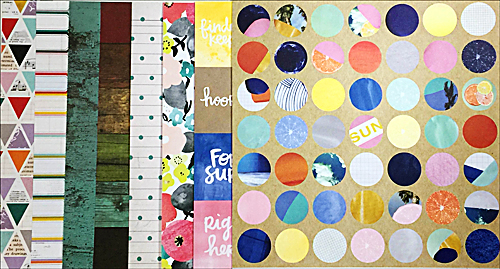
Includes Amy Tan Finders Keepers, Dear Lizzy Documentary, Simple Stories Pumpkin Spice and Pink Paislee Memorandum

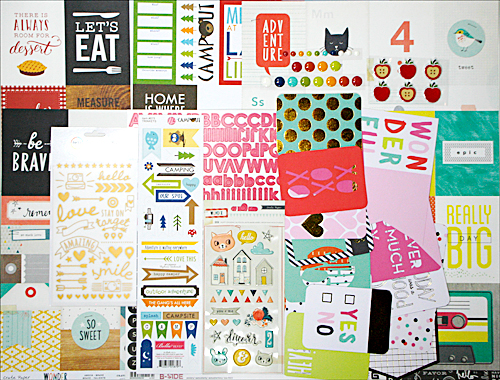
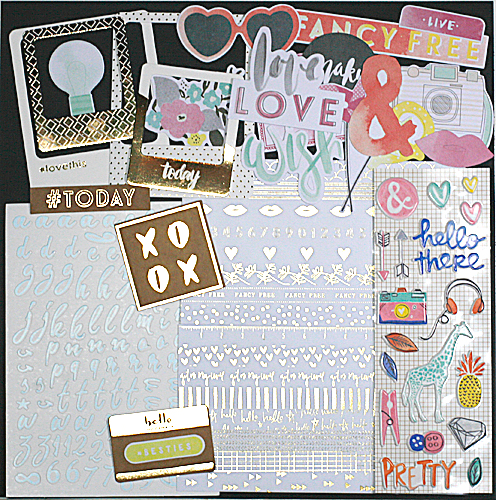
Lots of great activity will be going on here on The ScrapRoom Blog in October!  It all starts with the fabulous kits!  The mojo was flying for the designers as you will see on the Ideas page and from many of our October posts too come.  I'd love to give you a summary but I know what you really want to see are the October kits!

The Doubleshot Club Kit

The October Project Life (as PL is now bimonthly)

Embellishment Kit

Patterned Paper Kit

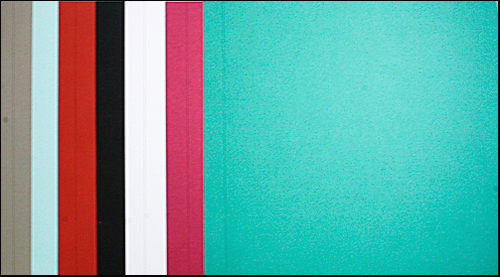
Cardstock Kit

Tomorrow begins a new Freaky Fast Recipe!  See you then!

Wednesday, November 14, 2012

Got Scraps Challenge!

In September, we focused on the power of 1" strips to kill some scraps.  I catch myself using that trick here and there and I hope you have, too.

So what's next?

Shapes.  Yep.  Punched or die-cut shapes.  The possibilities are endless!

Just like the Freaky Fast Formula and Page Starter, this challenge is designed to get you scrapping quickly and with a minimum of fuss.  You can do as much or as little as you like, in whatever style suits you.  And the best part... you just might be able to finally kill off some kits, or at least make a dent in that scrap pile!

Step 1:  Find an almost-dead kit.  No kit?  No worries - go dig through your scrap pile and find some coordinating patterned paper scraps.
The last bits of Crate Paper On Trend
Step 2:  Grab your favorite punch or diecut and just start making shapes.  Don't worry about what shape you grabbed - it's your favorite, and it won't let you down!
Love this tab-shaped punch.  I seem to sneak it in on a lot of layouts!
 Step 3:  Find some pictures and cardstock to match your scraps.  
Pretty pink flower (and bumblebee!) along with some black, white, and green cardstock.
Step 4:  Shop your stash for the extra bits, like alphas, journaling blocks, and coordinating embellies. 
I'm a sucker for washi tape.  Did you know that?  *giggle*
Step 5:  Finish.  Make this layout your own.  Do your thing! 
Lots of layers and stitching - yep, that's definitely my style!

This took 50 minutes.  I killed a kit.  AND... I used some stuff out of my stash.  All with the power of my favorite punch. *love*

What?  You want to see it again?  Well, alright!  I just happen to have some October scraps laying around, so I'll show you how to do this with a different punch - and making a card this time!

Step 1:  Find an almost-dead kit. 
Simple Stories Take a Hike... hmmm, not much left.
Step 2:  Grab your favorite punch or diecut and just start making shapes.
I think this zig-zag border punch is kind of manly, like these papers.  Plus, I like it!
Step 3:  Find some cardstock to match your scraps.
I had some grey cardstock left from the kit and added this pine green from my stash.
Step 4:  Shop your stash for the extra bits, like alphas, journaling blocks, and coordinating embellies. 
Hmmm... do you think I'm going to break out the sewing machine again?
Step 5:  Finish.  Make this card your own.  Do your thing! 
Still very much my style... layers and stitching.  Not your style?  That's okay!  Remember, this step requires you to do YOUR thing!
What?  One more?  Oh, for real?  Okay!  *smiles*

Here's the end result of what happens when patterned paper meets a leaf punch.  So many possibilities!
Yeah, yeah.  I still sewed on it.  But not so many layers this time!
Now it's your turn!  I challenge you to turn one shape into layouts this month.  You have until November 30th to link up your layout here for a chance to win a $10 gift certificate to the TSR Store.  Oh, and if you do happen to kill a kit - or four - stop by the Message Board and record it in our Kit Killer thread.  We're on our way to a goal of 225 dead kits by the end of the year - come help us out!

- Theresa/Savi

Wednesday, October 24, 2012

One Last Look: It's In the Details!

You know what tomorrow is, don't you?  Yep, sneak peeks start tomorrow!!! *bliss*  So, while we're waiting, let's take one more look at October's kits.  I know you've checked them out... maybe cut into them (what are you waiting for?)... or maybe even used them up already (rock on, girl, if this is you!).

But on the off chance you need a little mojo, or just like closer looks, here's what our favorite bits of the October kits look like:

Melanie takes a flair badge and sticker... nestles it perfectly in the corner with the awesome funky sewing print... and makes it all part of her journaling.  Simple, clean, and stunning.  The tiniest best little detail?  The heart in her exclamation point. *big love*
Some little details make the whole layout.  Brenda gets seven (!!!) patterned papers on this layout by just using little strips all the way around.  Little strips make a great border - and of course, it's all matchy matchy with the coordinating papers we get. 
Did you notice what Jenny did with this "Hello Fall" banner?  Check out the twine!  Love the little knots on each end - super cute way to kick up the banners in our kits.
Beth piles on some great texture and eye candy:  buttons with twine, die cuts, ink edging, a journaling strip, and a popped-up sticker.  A little embellie cluster with tons of impact!
Aphra cleverly cut her paper to place these great banners on the left of her pictures - and then dressed them up with just the right stickers.  I love how Aphra didn't get pushed into a corner by the printed graphics... she grabbed those scissors and made it hers!
I loved these stickers.  Possibly the cutest little fishy stickers EVER.  Plus the stripy one covered up a little boo-boo.  Don't tell.
Come back for our first sneak peek tomorrow...  It's going to be another great month!

- Theresa/"Savi"

Monday, October 22, 2012

Lettering Detail by Jenny!

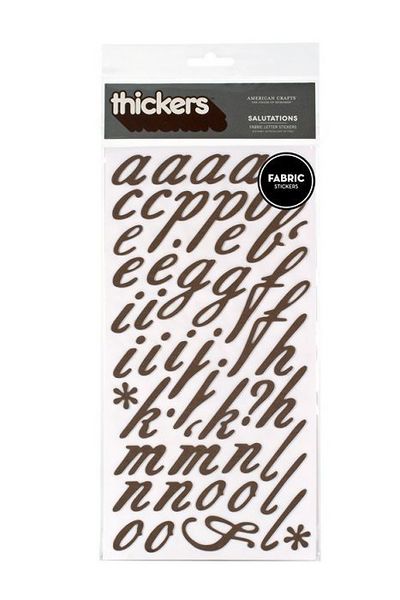
My favorite scrapbooking embellishment? LETTERS! I can't get enough of them. Chipboard letters, foam letters, fabric letters, vinyl letters...it doesn't matter. I'll take one of each in every color, please! :) Letters and title work can add SO much to a page. For my "Thankful..." page, I immediately fell in love with the font style and size of these fabric Thickers by American Crafts:
However, when I placed them on my page, the title just didn't "pop" like I wanted it to, so I used my white gel pen (UniBall Signo white pen is AMAZING!) and added a thin outline to each letter. The result:
Just a simple little white outline on fabric letters can bring your titles to life. Take another look at all those letter stickers/Thickers that you have and see if a white outline is just what they need! ;)

- Jenny

Friday, October 19, 2012

Stitching on Your Layouts with Melanie!

I LOVE to stitch on my layouts with my sewing machine! I may be a bit addicted to stitching since it appears I cannot stop. After all, it is an economical way to add an extra special touch to your layout. I tell my husband I'm being thrifty...I don't think he really sees it that way though :)

Here are some ways I stitched on my layouts this month.

For my Simple Stories layout...I created a garland by placing the stickers on the layout then stitched right through them.
 

For my American Crafts layout...I hand cut little chevron/arrow-like shapes then stitched right through them to add an extra embellishment that matched the pre-printed pattern paper.

Finally for my Lily Bee layout I stitched through the hexagons and pattern paper....why use glue when I can stitch :)


Go ahead...try machine or hand-stitching on your next layout!!!

- Melanie

Wednesday, October 17, 2012

Photo Assignment: Leaves

Leaves.   Leaves on trees, leaves on the ground, leaves on kids, leaves on pumpkins, leaves in pretty centerpieces, leaves stuck to your car, brand new green spring leaves, leaves on houseplants, or leaves tracked ALL OVER the house... you get the idea.  We all have leaves, and they are EVERYWHERE.  And did I mention, tracked all over the house?

I think the Simple Stories lines would be amazing with leaf pictures... and isn't it great that you happen to have some in your stash right now?  *big grin*

We've kicked off this photo assignment with these photos from the Design Team:
Beth says:  "Fall splendor!"
Jenny says:  "Last year during Thanksgiving, my mom made this "Thankful Tree" for our family. We each got a paper leaf, and we wrote things that we were thankful for down on the leaves before hanging the leaves on the tree. It then became our table centerpiece for our big Thanksgiving meal.  I think a new tradition was born..."   (totally loving this!!!)
Aphra says:  "How wonderFALL!"
I say:  "It's been so horribly dry here... the leaves are either turning brown and falling off or just plain old falling off. No pretty colors this year."
So now it's your turn to go out there and capture that image you have in your head when you think of leaves.  It would be a great addition to your Project Life, Month-in-Review, or calendar pages.  You may even be inspired to take more than one photo and make a layout about what your leaves look like this time of year.  Aphra has this to say:  "I hope some members post their pics, too. I'd love to see and be inspired to go on a little fall photo shoot!"  Couldn't agree more!  Who can't use inspiration?  So go ahead and link up YOUR leaf photo with Mr. Linky - and thanks!

- Theresa/"Savi"

Monday, October 15, 2012

Colorrific Letters with Aphra!

Hi everyone.  Aphra here with a quick tip for getting just the right color letters that you need.  For my October recipe card, I dug through my stash of letters looking for just the right color to coordinate with the Pebbles Walnut Grove papers and embellishments.  None of them were exactly the color that I wanted.  Soooo . . . I grabbed a marker and a couple of chalks and altered away.

Before


After


On the Layout


You can do this same technique with your chipboard letters, too.  Just peel off the top layer of color and then paint or chalk them.  You can even add some Crystal Accents to give them a shiny finish.

Can't wait to see your altered letters!

- Aphra

Wednesday, October 10, 2012

October Sketch Challenge and September Winners!

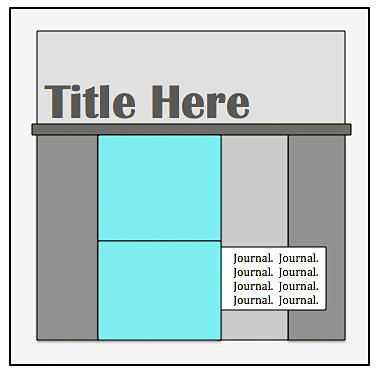
We have another great sketch for you this month!  Aphra drew this one up and we all loved putting our spin on it.

Sketch by Aphra Bolyer
Aphra Bolyer
Beth Hallgren
Brenda Carpenter
Jennifer Moore
Melanie Call
Theresa Sovacool
Use one photo or many.  Pile on the embellishments or not.  Use many patterned papers or only a few.  Regardless of how you spin it... go to your scrappy space and just have fun!  You have until October 31st to link your completed layout here for a chance to win a $10 gift certificate to the TSR Store.  Good luck!

And speaking of that $10 gift certificate, here are our September challenge winners!

Our Sketch Challenge winner is Kim {emmakat} with this layout about her sweet Fred.  Love how that embellie circle keeps my eyes traveling around the page!

Our Got Scraps Challenge winner is tutteli with this gorgeous layout about how time goes by.  Love the woven strips and how the grey background just pops!  I won't mention that she mixed kits - it totally freaks me out, but so many people do it so well. *wink*

Congratulations ladies!  Please email Tammy at admin@scrap-room.com with your real name, address, and the name of the contest you won.  She'll get your prizes to you right away.  Happy shopping!

- Theresa (a.k.a. "Savi")

Monday, October 8, 2012

What "Wood" You Do? It's In the Details!

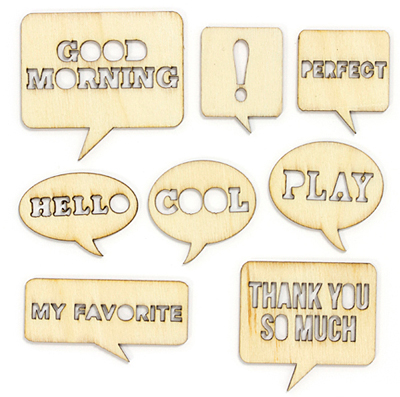
While you are waiting for your kits... (they'll be here this week!!!!)... check out the fun little wooden pieces we're getting this month!
You'll get 3 of these speech bubbles in the FOTM kit!
You'll get 4 or 5 of these cameras in the Doubleshot kit!
Hmmmmm... wondering how to use them?  Well, no worries.  As usual, the Design Team has done an amazing job of working with all the bits of the kit to encourage and inspire you to get more pages done.  Check out these great details!
Melanie used a speech bubble, die cuts, and a sticker to make a great accent for her back-to-school photos.
Beth inked this speech bubble - it's terrific looking *and* a great way to add some commentary to photos!
Jenny used this speech bubble as a sentiment on a card.  Perfect and easy.
Brenda used this speech bubble as an embellishment on this super cool file folder detail.
Brenda used another speech bubble on the same layout as part of her title.  Love that!
I inked a camera, tied some twine on it, and filled the center with Glossy Accents to make it look "lensy" (is that a word?).
This Polaroid-style camera inspired me to mat my photos as if they were Polaroid pictures, too.
And finally... I used this camera as a charm on a card.  Easy peasy!