Showing posts with label December Kit. Show all posts

Friday, December 25, 2015

Final Freaky Friday For 2015!

December's Freaky Fast Formula!!
 from Rochelle.....
(2) 1 1/2 x 12
(2) 3 3/4 x 1/2
(2) 2 1/2 x 1/2
(1) 8 1/4 x 12
(1) 4 1/4 x 1 1/2
(1) 5 x 6 3/4
(1) 6 3/4 x 5 1/2

And here are the steps to completing your layouts using the December formula...

1. Collect a few pics.
2. Cut your patterned paper to the dimensions stated above.
3. Push the paper around your cardstock till you achieve the look you want, or simply copy the layout below!
4. Adhere and EMBELLISH! It is that easy!!

Brenda Ragsdale created a Freaky Friday layout using the BasicGrey Typeset line from the November kits.


Guest designer, Lisa Lahiff's, December Freaky Friday's layout was put together with the Echo Park Paper Story of Christmas collection from December's kits.

Here's a recap from our earlier posts:
by Tammy Harp

by Rochelle Spears

by Janine Rachau

Wednesday, December 23, 2015

Daily Inspiration: Layout of the Day!

Guest designer, Lisa Lahiff, completed the above layout using the Simple Stories Claus & Co. line from the December 2015 kits.  Here is what Lisa had to say about her page:

    I used a circle punch to punch out specific designs from patterned paper and turned them into ornaments by adhering twine under each circle and to the back of my layout.


Wednesday, December 16, 2015

Daily Inspiration: Layout of the Day!

These are some of the cutest Santa pictures I ever did see!  Brenda's design cleverly uses American Crafts Christmas Magic Deliver from the Flavor of the Month Kit as the base marking Santa's tracks with star stickers also from the main kit.There is so much to love about her page with the embellishment cluster, the fun bow and the focal point photograph in the circle.

Monday, December 14, 2015

Scrapbooking Tips: Low Quality Photos and Paper Scraps

Although I am working to improve the quality of my photographs, I still have several photographs that I want to include in my albums that are far from worthy of taking stage on my layouts.  In fact the photograph on the layout immediately below was cut from a Polaroid.  I learned that you should never cut up your Polaroids long after I had already cut most of mine, years ago.

However, these photographs have stories to tell, (which are almost always told on the back of my layouts). The mother and son in the layout below were close friends when I was a child.  We share common heritage, (Norwegian), and I called the mother Aunt in Norwegian, (Tante), the way many children in my generation called some of our parents closest friends. I don't have many pictures of them and no additional ones from the 70's.  

There are a few other reasons this photograph is special to me.  For one, the picture window in the background is the crime scene from my Apache story, (link to story included).  The lamp and tables are heirloom pieces that now bless my current home.  Lastly, the dog in the photograph was one that we had for a few years.  I named him, Mandy, and I could write a nice little story about my adventures with that little ragamuffin!  

This picture has so many stories that I can tell.  Just looking at it brings on a slew of memories.  This is why I find ways to fit them on a page when otherwise they may seem unworthy.


 I struggled with a title for this post because there were so many different points that I thought valuable to discuss. One of which was that I scraplifted myself .  I chose two layouts from my November projects and created two projects for December.  The designs seemed a natural solution when I found myself with very little paper left. If you think a certain style works well for you, I find that it adds some uniformity to your albums when you replicate your work.


The photograph below is from my last Christmas with my parents together. They divorced shortly thereafter.  The photograph itself looked horrible! It had spent too many years in the old magnetic albums with high acid content.  It was very yellowed around the edges and my family was crookedly placed in the center.  The faux Polaroid frame was an excellent solution.


The photographs hold their very own stories.  In each case of these four pages, a picture tells a thousand words.  Our poor quality photographs need to come out of hiding and take center stage.  And, isn't it a wonderful solution when we can take our scraps of papers and leftovers from our kits and fashion them together in some artistic way to create beauty out of ashes?


The two Christmas pages were created mostly with the December 2015 Simple Stories Claus and Co. line from The ScrapRoom Kits, and a couple items from my stash.  The other two pages were made from November 2015 kits from The ScrapRoom.

Saturday, December 12, 2015

Easy Christmas Cards Made with your Kit(s)!

Hello!  It's Guest Designer Lisa here with you today, and I'm so excited to be able to share with you 3 easy Christmas cards that will be great to send out or add to any gift while also helping you use up every piece in your kits!  Don't you just love when that happens?  Anywho, let's get started…

This card required basic trimming of the wood and snowflake patterned paper from the Shimelle's Christmas Magic Collection.  I then trimmed my selected tag from the Shimelle's collection (this came from the patterned paper club kit). Finally, I added stickers from the Simple Stories 12 x 12 sticker sheet.  I tied my tag with twine and added some jingle bells from my personal stash.

This card was a super quick and easy mix and match of stickers from the Embellishment Kits Simple Stories Sticker sheets, and the Alphabet Set.  This was then adhered to a trimmed panel of patterned paper by Simple Stories found in the Patterned Paper Club Kit.

This last card uses a mix of Fancy Pants patterned paper for the background, the sentiment came from the Patterned Paper Club Kit, and the Snowman is from the 12 x 12 Simple Stories Sticker Sheet. I also added some clear sequins from my personal stash.

I hope I've given you some ideas on how to stretch those kits, mix and match them, and simply have fun!

Happy Crafting!

Friday, December 11, 2015

It's Freaky Fast Friday!!

.December's Freaky Fast Formula!!
This month's formula is from Rochelle.....
(2) 1 1/2 x 12
(2) 3 3/4 x 1/2
(2) 2 1/2 x 1/2
(1) 8 1/4 x 12
(1) 4 1/4 x 1 1/2
(1) 5 x 6 3/4
(1) 6 3/4 x 5 1/2

And here are the steps to completing your layouts using the December formula...

1. Collect a few pics.
2. Cut your patterned paper to the dimensions stated above.
3. Push the paper around your cardstock till you achieve the look you want, or simply copy the layout below!
4. Adhere and EMBELLISH! It is that easy!!


Today, I'm sharing my work with the December 2015 Freaky Fast Formula using the Simple Stories Claus & Co. line from the Flavor of the Month Kit.  I cut my papers, pushed things around and flipped the sides a couple times before I came to my final result.  The two panels that are 6 3/4" are the top and bottom pieces partially buried under the largest piece.  I, also, cut a few designs from the patterned paper and matted them to serve as embellishments.  This was a fun recipe.  I hope that you give it a go!

Last weeks recap...

This layout was created by Rochelle using Shimelle's Christmas Magic, found in the  December 2015 Flavor of the Month Kit.  I just love that this formula has sooooo much patterned paper. You can layer it so many different ways. Gotta love that!! The embellishments that come with the kit are so cute too!!

Have a great weekend!!

Wednesday, December 9, 2015

Daily Inspiration: Layout of the Day!

Rochelle created today's layout with the Echo Park Paper Story of Christmas. Aren't the wooden Christmas trees adorable?

Sunday, December 6, 2015

Daily Inspiration: Layout of the Day!

Brenda Ragsdale created this fantastic Layout of the Day with Fancy Pants Wish Season from the December 2015 Flavors of the Month Kit. 

Friday, December 4, 2015

December's Freaky Fast Friday!

Happy Friday!!  So glad that it's Friday!! We are here to give another reason to celebrate the day,...December's Freaky Fast Formula!!
This month's formula is from Rochelle.....
(2) 1 1/2 x 12
(2) 3 3/4 x 1/2
(2) 2 1/2 x 1/2
(1) 8 1/4 x 12
(1) 4 1/4 x 1 1/2
(1) 5 x 6 3/4
(1) 6 3/4 x 5 1/2

And here are the steps to completing your layouts using the December formula...

1. Collect a few pics.
2. Cut your patterned paper to the dimensions stated above.
3. Push the paper around your cardstock till you achieve the look you want, or simply copy the layout below!
4. Adhere and EMBELLISH! It is that easy!!

Here is a look at our first reveal for December, Rochelle's FREAKY FAST LAYOUT...


This layout was created using Shimelle's Christmas Magic, found in the  December 2015 Flavor of the Month Kit.  I just love that this formula has sooooo much patterned paper. You can layer it so many different ways. Gotta love that!! The embellishments that come with the kit are so cute too!!

Hope you are having a great Friday! Join us next Friday for another layout using this same formula.  If you want to show us your pages using our formula's, just add them in the comments.  We'd love to feature your work here! See ya soon!

Thursday, December 3, 2015

December Recipe Card


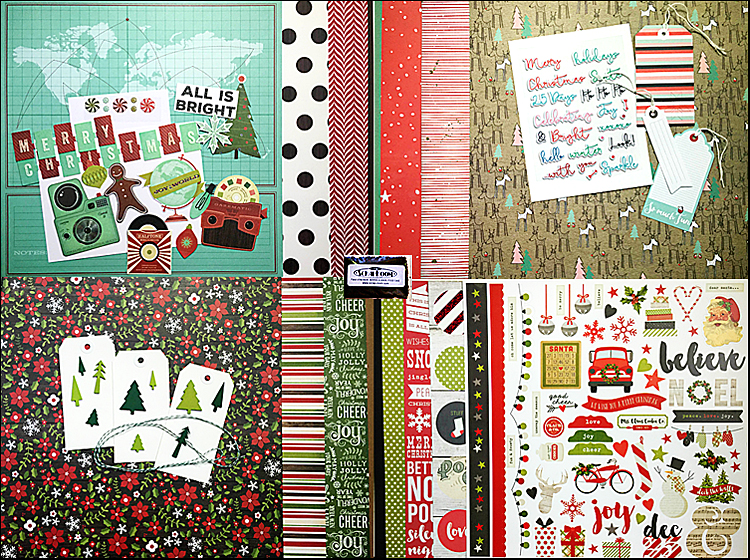
December's recipe cards will include cutting and assembly instructions for this double page spread, (and three others to include a two page layout for each of the four lines in the December 2015 Flavor of the Month Kit.

Guest designer, Lisa Lahiff, completed the adorable and clever layout above using Shimelle's Christmas Magic.  The candy dots, included in the kits, make for fun Geo-markers.

Wednesday, December 2, 2015

December's Sketch

This month's fun sketch is from Pagemaps. Won't you give it a try? Here's what our designers came up with:

Rochelle Spears

Brenda Ragsdale

Janine Rachau


Tuesday, December 1, 2015

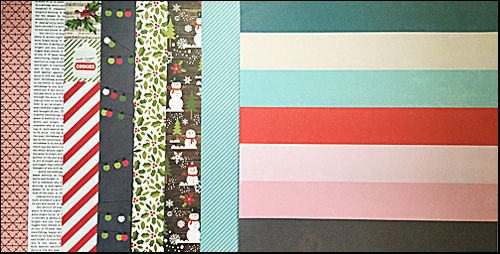
December 2015 Kits Are Up!

Flavors of the Month Club

 Doubleshot Club

 Project Life Club

Embellishment Kit

Patterned Paper Kit 

Bazzill/Cardstock Kit

Please visit The ScrapRoom for more information.  What's your favorite?

Monday, November 30, 2015

December Sneak Peek #6

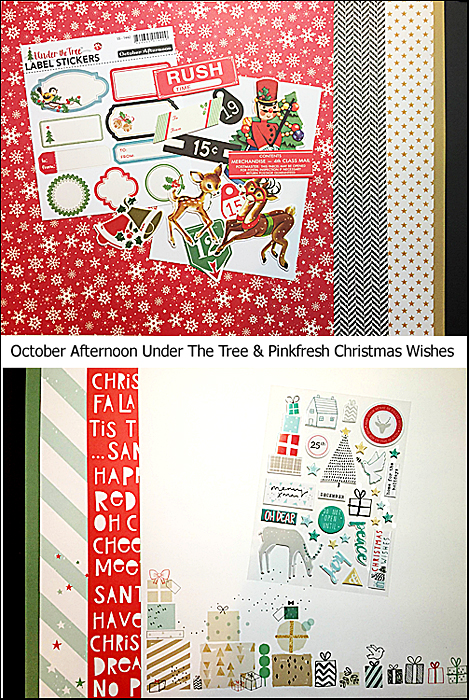
PINKFRESH STUDIO CHRISTMAS WISHES
Layout by PinkFresh Studio designer, Agnieszka Piskorz, and found on the Pinkfresh Studio Blog.

Tell your Christmas story in style with our very 1st holiday collection, Christmas Wishes. ... Christmas wishes feature a traditional Christmas red color along with some neutrals, light blue and aqua. -- Pinkfresh Studio Blog.

Sunday, November 29, 2015

December Sneak Peek #5

AMERICAN CRAFTS SHIMELLE'S CHRISTMAS MAGIC

This terrific line will be part of the December 2015 Flavors of the Month Kit. The picture was found on the American Crafts Blog.

Celebrate the season with Christmas Magic by Shimelle! This colorful collection boasts a pleasing, retro palette of berry red, deep evergreen, woodgrain and sky blue. Delightful icons of toy trains, Santa, vintage Christmas lights, and classic toys join pretty patterns for a truly magical collection! -- American Crafts Blog

Saturday, November 28, 2015

December Sneak Peek #4

FANCY PANTS WISH SEASON


Layout by Fancy Pants designer, Kim Watson, and found on the Fancy Pants Blog.

WISH SEASON is a whimsical mixture of holiday & winter motifs and patterns. You will find wonderful, traditional holiday items with a modern twist, as well as unique, doodled characters, hand painted patterns & hand drawn elements. -- Fancy Pants Blog.

Friday, November 27, 2015

Freaky Fast Sneak Peek!!!

Our final Freaky Fast November Page also gives you a sneak peek at one of the December lines that will be making an appearance in the December Doubleshot Kit!

October Afternoon's Under The Tree

For the Freaky Fast page, Tammy Harp used the November formula and cut (6) 2"x 6" strips of patterned papers and arranged them across the bottom of the page. This is what Tammy said about it:

            I had to do just a wee bit of overlapping in order to leave a narrow black margin along
            both sides. I added a 1/2" strip of brown sugar cardstock along the top of the patterned
            papers, and I matted (2) 4"x 6" photos (or what will be (2) photos) with the same brown
            sugar cardstock. I finished the layout by added som die-cuts and stickers, and a couple
            of phrase cut-outs from one of the papers. Easy - and Freaky Fast!!

Here's one final look at all of the November Freaky Fast layouts, all created using the same formula:
(2) 2"x 6" pieces of patterned paper

by Designer, Rochelle Spears

by Designer, Brenda Ragsdale

by Guest Designer, Lisa Lahiff

Thursday, November 26, 2015

December Sneak Peek #2

SIMPLE STORIES CLAUS & CO. 
Layout by Simple Stories designer, Sue Kendall, and found on the Simple Stories Blog.

Today we introduce you to Claus & Co, the perfect collection for all of your holiday crafting projects this season.  The traditional holiday color palette mixed with accents of red glitter foil make Claus & Co a 'must have' addition to your holiday wish list! -- Simple Stories Blog.

Wednesday, November 25, 2015

December Sneak Peek #1

ECHO PARK PAPER STORY OF CHRISTMAS
Christmas Countdown project by Echo Park Paper Co. designer, Courtney Lee, found on the Echo Park Paper Co. Blog.

We believe this holiday collection is sure to bring you cheer. Introducing “The Story of Christmas” in which Santa and your favorite reindeer take you on a journey through the North Pole. Visit Santa’s workshop and whip up a holiday gift or two of your own as we transform you into an elf perfect for delivering gifts to those you love. It’s a bit of holiday magic rolled up into one merry collection. And it’s our gift to you! -- Echo Park Paper Co. Blog.

Monday, December 16, 2013

Project Life Reflections

Today I thought I'd share the last page of my Project Life 2012 album.  I used a variety of elements from the December kits.  Basically, anything that fit the grey and green color scheme went down.

Hello 2013


Now that I have finished (Yayyy!!!  SO excited about that!) my first Project Life album, I wanted to share with you some reflections or things that I've learned as well as my plans for 2013.

1.  Week at a Glance:  Although I stuck with this format for most of the layouts in the album, I found it difficult sometime.  Some weeks I had more photos than I could fit on a spread and other weeks I barely had enough.  Because I was working on last year's photos, I would also have a hard time keeping up with the week numbers.  I think I used the same number for a couple of the spreads.  Oops!  My plan for 2013 is to create event layouts for each month.  In other words, I will create however many page spreads that I need for each month.  The title card for each spread will contain a title, the same type of title I would have used on a scrapbook page.  The large journaling card will contain the date.

2.  Process:  When I first started my album, I did a lot of prepping and planning the pages.  For instance, I sketched out pages in a notebook and listed which photos went on the page. 


What I quickly discovered is that the planning was taking up way too much time.  I started printing out all my photos, one month at a time, and learning to just make them fit.  When my kits arrived, the photos were already printer, corners rounded, and inserted into the page protectors just waiting for cards and journaling.  This system also enabled me to work on my spreads over the course of two weekends, usually not back to back either.  I was able to continue this routine for the entire year, despite my full time job, my kids' activities, and my husband being gone half the time. 

3.  Page Protectors:  When I first started this project, I bought the Becky Higgins Big Variety Pack of Page Protectors.  What I found is that I had to force myself to use ones other than Design A and Design F.  Those are my two favorites.  When it was time to buy refills, I bought a pack of all Design A's.  In my 2013 album, I am going to use only Design A.  And the occasional insert.

4.  Memorabilia:  One thing that I didn't do well in 2012 was include memorabilia in my album.  You know, things like kids' artwork, ticket stubs, report cards, cards, etc.  I hope to do better in 2013, but it all depends on how much "stuff" I saved this past year.  However, I am going to be more mindful of keeping and organizing artifacts for 2014.  I am going to use this system for saving everything.


Toni at A Bowl Full of Lemons uses this magazine holder and file folders labeled for the 52 weeks of the year to house all the paper stuff she wants to include in her album.  I am going to simplify her system a bit by having a folder for each month.  Hopefully, having a place for all that paper will make it easier to save.

5.  Corner Rounding:  I rounded all corners in 2012 and was debating whether I wanted to continue doing so in my next album.  After my EK Success corner rounder broke and I couldn't a replacement for it, I was thinking of giving up on the corners.  Having matching arc's is important to me, but finding a suitable tool was not happening.  Until . . . I found this baby.


I found this at Michael's and bought two of them for less than $15.  Yep, I'll be rounding corners again this year.

6.  Backwards and Forwards:  I have enjoyed this system of documenting life SO much that this year I plan to work on my 2013 and 2014 photos simultaneously.  Now that I have one year of photos under my belt, I think I can do it.  Especially since I plan to organize my spreads by months, not weeks.  I'll keep you posted!

Happy New Year!  See you soon with the title page for my 2013 and 2014 albums!